
Disclosure: This post contains affiliate links. Meaning if you click on a link and make a purchase, I'll earn a small commission at no extra cost to you.
I’d never even heard of a planche until a few years ago. So when I came across a planche progression video of a guy on youtube doing a one-arm planche…
…I came to the conclusion he was an alien that had been grown in a lab and injected with the DNA of Captain America.
So after I wept for 45 minutes. I decided right then to make it my mission to learn the planche.
And while I’m not quite there yet…
…I’m going to be taking you every step of my journey so far in the hope it will both inspire and motivate you to push on.
FREE VIDEO: How To QUICKLY Master The Planche, Muscle-Up, Human Flag, And Other Advanced Calisthenic Moves That Defy The Law Of Gravity
(Video Will Open In A New Window)
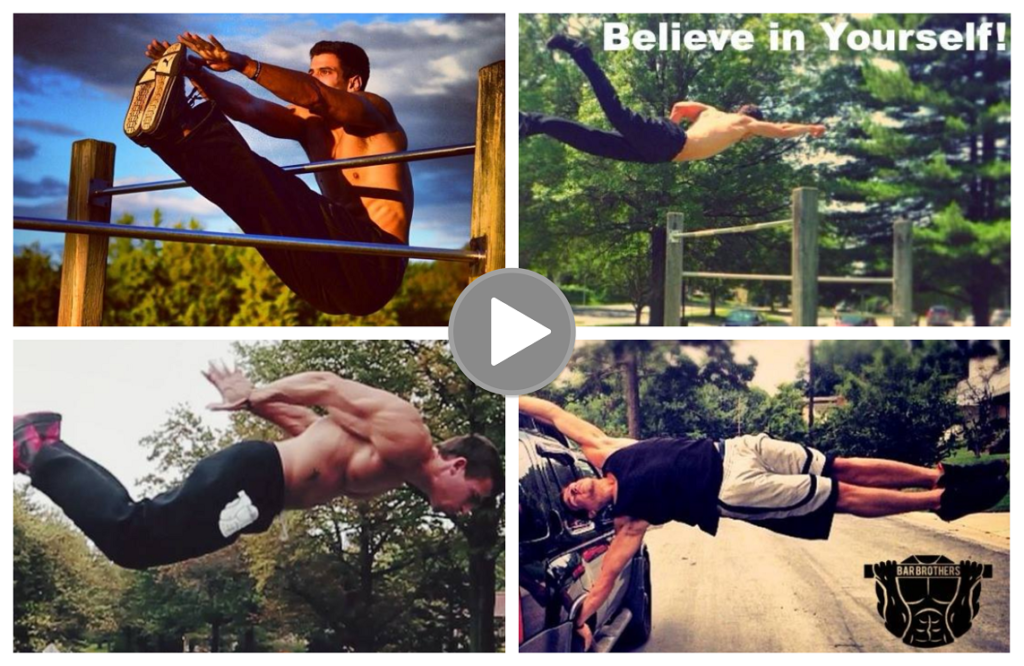
Table of Contents
What You Need To Know About The Planche Progression
To give you a little background I’ve always been into bodyweight training.
I sometimes lift weights, but only if I feel it’s going to have a functional benefit.
The idea of 5-day training splits, isolation exercises, and comparing myself to all the gym bros out there honestly bores the sh*t out of me.
And it’s probably the reason I’ve rarely been able to stick any sort of lifting routine for more than 4 weeks.
Now I’m not what you’d call a finely tuned athlete.
But when I started the planche progression a few months ago, I could comfortably hit double digits in…
- chin-ups
- parallel bar dips
And I was also pretty close to being able to do a one-arm pushup.
So I was confident I’d be able to progress quickly with the planche.
How very wrong I was.
I soon discovered after attempting a few basic progressions that I learn from the Bar Brothers Program…
…that it would take months, maybe even a year of hard work and consistency to pull off the planche successfully.
But the thing I realized quickly was that how well you can execute a full planche come down to just 3 things.
They are…
…Isometric strength and stability
…Straight arm strength
…wrist extension and flexibility
And if you can master ALL these key elements then it’s only a matter of time before you’ve got it nailed.
Now because the planche is an isometric move, we’re going to focus on just that…
…Isometrics
I’ll be touching on a few dynamic exercises later in the post but for now, our main point of focus will be to progressively work on your isometric strength…
…stability
And more importantly…
…your technique.
See the biggest problem you’ll find (I’ve been guilty of this myself), is a lack of patience when working through the different planche variations.
People tend to get pissed at progressing too slowly and try to run before they can walk.
This almost always results in either…
- Injury
- Slow progress
- Regression
- Or giving up completely
So if there’s one thing you take away from this planche progression guide let it be this…
Don’t give up.
As long as you’re patient, consistent, and you have both the drive and determination to keep pushing forward…
…then it will happen.
You’ve just got to give it time.
However, if you feel you need a little nudge in the right direction to keep you motivated…
…I highly recommend joining the Bar Brothers Program…
It’s an advanced calisthenics program with a HUGE community that helped me massively when I first started learning advanced bodyweight moves.
The support you get is unreal.
And not only that, you’ll learn dozens of advanced techniques that will QUICKLY get you up to speed with the planche.
But what’s more…
You’ll also discover PROVEN workouts that reveal how to master unbelievable strength moves like the
…muscle-up
…human flag
…front lever
…and lots more.
Better still, if you join using This Link, I’ll also throw in ALL the digital training guides you see below free of charge.
These include…
…Hiit to Fit
…Functional Strength
…And Kettlebell Transformation.
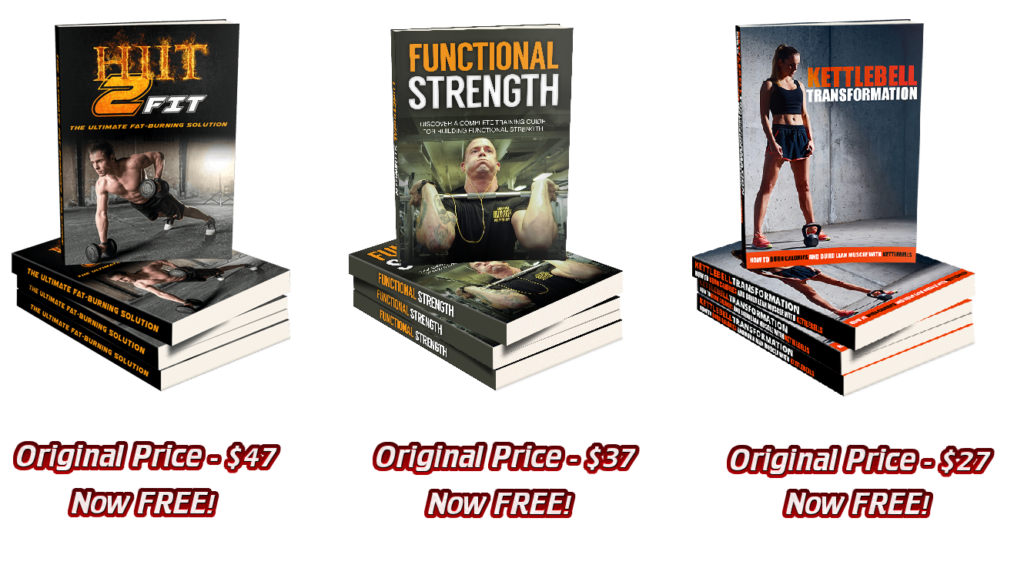
Between the three, there’s over $100 worth of advanced training material to suit every style of training.
And it’s ALL yours when you join Bar Brothers.
To get it, visit the Official Bar Brother Website through any of the links in this post…
…send me a screenshot (or receipt) that you joined the Bar Brothers program to dan@un-ripped.com
…and I’ll send all three eBooks to your email address ASAP.
Anyway, let’s get to it…
The Plank

Now if you’re a regular gym junkie, then you’re probably quite familiar with the plank.
It’s a simple move that will build a solid foundation of strength you need to progress.
But only if you do it right…
The setup is pretty straightforward.
Get your self into a standard pushup position, only with your elbows on the floor and your forearms facing forwards
Keep your elbows tucked in and your back straight.
Once your setup, then it’s simply a case of holding the position for as long as you can.
30 seconds is a good target to shoot for.
But as you get stronger, you want to improve on this by attempting to hold the plank for 60 seconds… more if you can handle it.
A few quick tips…
To kick things up a gear, try to draw your elbows and feet towards each other when holding the plank.
This will further engage your core muscles.
Your body position won’t change, but you’ll feel an instant contraction in your abs that will make the plank much more difficult to hold.
This increased level of core engagement is what’s going to set the foundations for the more advanced planche progressions.
So you really need to zone in on this and make it a consistent part of your routine…
Another thing you can do to make the plank harder is to position your arms further forward.
Stretching as far as your body will allow.
If you do (along with drawing your elbows and feet together) your abs will feel like they’re on fire.
It’s a simple change that uses leverage to your advantage (or disadvantage if you prefer)
…but in any case, it’s very effective.
Frog Hold (AKA Crow Pose)

The next progression is the almighty frog hold (or crow pose as some might call it)
To do it, get down into a squat position with your feet close together and your legs spread wide.
Keep your arms positioned between your legs about shoulder-width apart.
Your inner thighs sit outside your arms slightly above your elbows.
Then, with your hands firmly on the floor, slowly lean forward until your feet lift.
As you do, your inner thighs should continue to rest above your elbows with your arms supporting the weight of your legs.
Hold the position for as long as you can returning your feet to the floor.
At first, you might only be able to lift your feet from the floor for a brief second.
This is normal for a lot of first-timers so don’t let it bother you if it takes a while to get your balance.
I personally struggled like hell when I first attempted this move.
And it actually took me a few weeks of daily practice until my balance was good enough to hold the position for more than 30 seconds.
Quick tip…
When your feet lift, your main focus should be to engage your core as your arms take the full weight of your body.
Try to keep your arms straight with your elbows locked out. If you’re doing it right you should feel a great deal of tension in your forearms.
Aim to hold the position for at least 30 seconds before moving on to the next progression.
Advanced Frog Hold

For this move, get yourself down into the squat position with your feet shoulder-width apart.
Only this time, position your hand directly in front of your legs also shoulder-width apart.
Begin to lean forward with your feet still touching the floor and your knees touching above your elbows at the back of your arms.
Hold steady, and continue to lead forward (keeping your knees resting on the back of your arm) until your feet lift away from the floor.
Again, hold the position for as long as you can before returning your feet to the ground.
Now there are 2 things that can happen when you attempt this move.
Firstly, your arms will want to naturally bend as you lean forward to support the weight of legs.
This is fine at first, but if you can, try and keep your arms straight with your elbows locked out. (You’ll need to master this before moving on).
Second, it’s not uncommon to lose your balance and face plant the floor.
And let me tell you, concrete doesn’t taste good.
So have a pillow or a soft cushion handy to place in front of you just in case.
Again, you want to aim to hold the pose for at least 30-60 seconds before moving on.
Planche Lean
Once you’ve got mastered the advanced from hold,
Next, you’ll now want to start working on a more planche specific hold that further engages both your shoulder and core stabilizer muscles.
It looks something like this.

Now the first thing you need to be aware of is the position of the scapula (shoulder blades).
Notice in the picture how it’s fully protracted (pulled forward). That’s what you should be aiming for when holding the planche lean.
So to set up, get into a regular pushup position with your hands a little lower than the bottom of your chest.
From there, protract your scapula while slowly leaning forward. keeping your core engaged at all times.
As you ease into the full planche lean. It will become increasingly difficult as your waist becomes level with your hands.
Your arms should be straight…
…your elbows fully locked out.
…and the pits of your elbows facing forward.
I also recommend placing your hands at a 90-degree angle away from your body.
I personally found this hand position a huge help when learning the planche lean.
It takes some of the strain away from your wrists and makes it easier to position the pit of your elbows forward.
But this is down to personal preference and you should ultimately do what’s comfortable for you.
Again, hold the move for 30-60 seconds and repeat for 3 sets.
Quick tip…
If you find the planche lean too hard at first. I recommend positioning your hands slightly further up towards your chest.
It’ll ease some of the load on your shoulders until you’ve built up the necessary strength to commit to a full planche lean.
Moving on…
Tuck Planche Progression

Assuming you’ve nailed the previous progressions, next you’ll be taking a look at the tuck planche.
Now the tuck planche takes things one step further by removing any support for your legs.
So you’re gonna have to rely more upon straight arm strength and balance to master this move.
A mistake I made when practicing the tuck planche was I didn’t have the strength to keep my arms straight.
This led to almost 4 weeks of ZERO progression.
I talk more a straight arm strength towards the end of this post.
It helped massively increase my straight arm strength.
So make sure you take a look.
Anyway…
To hold a tuck planche, set up as you did for the advanced frog hold.
Only this time, your legs should be close together with your arms outside of your legs shoulder-width apart.
Slowly lean forward maintaining a tight tuck position while lifting your feet from the floor.
…Keep your core engaged
…Your scapula protracted.
…And your arms straight with your elbows locked out.
Again, I find it helps to have your hands turned out at a 90-degree angle with the pit of your elbows facing forward. (like the planche lean).
But this is down to personal preference and you should ultimately do what’s feels right for you.
Quick tip…
If you finding the tuck planche difficult.
You can make it easier by distancing yourself from the floor by performing the move on parallettes or pushup bars.
This takes some of the stress away from your wrists while allowing a little more room for error.
FREE VIDEO: How To QUICKLY Master The Planche, Muscle-Up, Human Flag, And Other Advanced Calisthenic Moves That Defy The Law Of Gravity
(Video Will Open In A New Window)
Advanced Tuck Planche
Now here’s where get a little tricky.
See going from a tuck planche, in theory, is actually quite straightforward.
You simply hold a tuck planche…
…and then slowly work on extending one leg out at a time.
The drawback though is that it can be extremely slow. With only small visible improvements to keep you motivated.
It’s still an effective way to progress. But it can also get frustrating because it’s hard to track your progress.
So as well as practicing the advanced tuck.
You’re also going to start adding dynamic movements to your routine to keep things interesting and speed up your progress.
Now I’m not going to list every single movement here.
Because to be honest, it’s quite an extensive list and I don’t want to bore you.
So instead I hit up youtube and found an awesome video from Abnormal Beings.
It quickly demonstrates the dynamic progressions you’ll need to keep moving forward.
Take a look Here when you have a spare few minutes.
Straddle/Full Planche Progression

Once your up to speed with some of the more dynamic movements it’s time to start practicing the straddle planche.
Now although it looks similar to the full planche. It’s actually a lot easier due to the fact that your body is covering more ground when suspended in mid-air.
But if you’ve worked through the progressions correctly without sacrificing technique. You should have the required strength to hold the straddle planche for at least a second or two…
…possibly more
So here’s what you need to do…
Setup the exact way you did for a planche lean.
Only this time, position your legs apart in a straddle position.
Protract your scapula, and then slowly lean forward until your hands become level with your waist.
As this happens, your feet should naturally lift from the floor to counterbalance your weight.
Then it’s just a case of holding the position for as long as you can.
A word of warning…
This move requires extreme strength and mobility and should only be attempted when you’ve mastered ALL the previous progressions on this page.
I’d hate to see you injure yourself at the last hurdle and risk sacrificing all your hard work.
The straddle planche is only one step down from a full planche so once you can comfortably hold a straddle planche for at least 20-30 seconds.
It’s simply a case of working towards bringing your legs together until you have the required strength to perform a full planche.
The end result looking something like this…

Straight Arm Strength
Now before we close things out let’s take a minute to talk about straight arm strength…
See, a lot of people when training for the planche don’t realize the importance of straight arms and elbow lockout.
And without a complete lockout. Everything you practice will work an entirely different set of muscles that do nothing to help with the full planche.
So with that said…
…here’s an extra move you can practice to increase your straight arm strength that will have a huge carryover to your planche progression.
…First, grab yourself a set of dumbbells. (4-8 lbs should be enough to start with, but increase the weight as you get stronger to keep challenging yourself.)
…Next, hold both dumbbells straight out by your side with your hands at shoulder height and your palms facing forward.
…With your elbows fully locked out, tightly squeeze both dumbbells until you feel the tension in your forearms.
This is the same tension you should feel during every phase of the planche progression (provided your arms are fully locked out).
…Hold the position for 30 seconds before lowering the weight and repeat for 3 sets.
Now, the reason this exercise works so well is that it teaches you how to hold a weighted load under tension with straight arms.
And as you get stronger, continue to increase the weight.
It’simple but it works.

Taking It To The Next Level
There are certain things only a few humans are capable of.
One of those things is the planche.
And if you’ve gotten anywhere near to mastering this impossible move then congratulations, you can officially call yourself a calisthenics warrior.
I hope to get there someday soon, but for now, I’ll simply keep pushing on and bid you a farewell and good luck with the rest of your planche journey.
FREE VIDEO: How To QUICKLY Master The Planche, Muscle-Up, Human Flag, And Other Advanced Calisthenic Moves That Defy The Law Of Gravity
(Video Will Open In A New Window)