
Disclosure: This post contains affiliate links. Meaning if you click on a link and make a purchase, I'll earn a small commission at no extra cost to you.
True story… A while ago, when I was trolling the internet looking for an effective calisthenics back workout. I came across a few posts that pushed the idea that pullups alone are the key to building an impressive upper back.
And while I agree that this exercise should play a massive part in your workout. It turns out that there’s a missing piece of the puzzle when it comes to building the real-world strength of a calisthenics god.
Now until recently, I spent the best part of my life doing nothing more than pullups, dips, pushups, and squats because I believed it was the best way to get the most out of my workouts.
And while these exercises did go a long way to carving out a half-decent physique. When it came to progressing to more advanced calisthenics exercises like the muscle-up and the planche. I didn’t possess anywhere near the relative strength to be able to execute them correctly.
See, when it comes to calisthenics, there are only two real movement patterns that effectively target your back.
This includes the vertical pull (like pullups or chinups)
…And the horizontal pull (like inverted rows).
And utilizing one without the other is like being on a boat without a paddle…
…Eventually, you’ll end up down sh*t creek.
So in today’s blog post, I’m going to be taking you through the do’s and don’t of an effective back workout that focuses primarily on these two movements.
I won’t lie, it might get a little emotional. But by the time we’re done, you’ll be equipped with everything you need to build the strength and power of a finely tuned athlete.
WATCH VIDEO: Learn How To QUICKLY Master The Planche, Muscle-Up, Human Flag, And Other Advanced Calisthenic Moves That Defy The Law Of Gravity
(Video Will Open In A New Window)
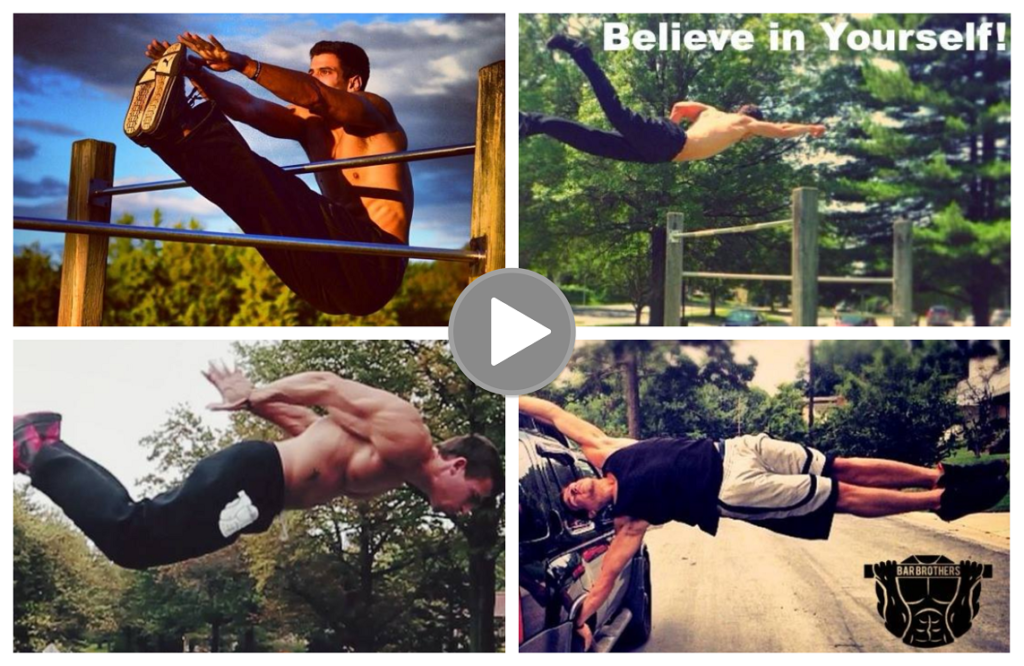
Table of Contents
The Basic Of A Calisthenics Back Workout
To kick things off, I feel it’s essential to highlight basics to give you a better understanding of how to properly target your back.
You see, even though the pullup and inverted row target pretty much all the same muscles…
…Back, biceps, and core.
Changing the angle of attack from a horizontal to a vertical pulling position places slightly more emphasis on specific muscle groups that ultimately determine your back’s shape.
Pullups, for instance, place a lot more demand on your lats, which gives you back that wide, V-tapered look.
Inverted rows, on the other hand, primarily target the rhomboids and traps, which is why they’re great at giving your back that thicker, more muscular look.
Hand Position
Hand position also a key player in what muscles your targeting.
For instance, if you adopt a close grip for either pullups or inverted rows, you’ll place a lot more demand on the biceps. While a wider grip puts more load on the back itself.
Now, this doesn’t mean you should just stick to one hand position and be done with it.
In fact, continually changing your grip is one of the best ways to progress. Because strengthening specific muscles from one grip type will ultimately carry over and assist with other movements.
This is why it’s important to understand exactly what muscles you’re targeting with each exercise.
Because let’s face it, if your progress ever stalls (and it will), you need to assess what muscles need more attention and build an effective plan of action to get you back on track.
Muscle Imbalances & Posture
I’m not sure if you’re aware of this, but technically you should perform more pull exercises than you should push.
This is because too much pushing (pushups, dips, etc.) tends to roll the shoulders forward, creating a high degree of muscle imbalances between the chest and back.
It might not affect you yet, but further down the line, you’ll probably find yourself becoming more prone to injury because your body mechanics are out of whack.
This is why it’s always advised to perform more pulling exercises like pullups and inverted rows to counterbalance the effects of too much pushing and improve your posture and joints.
To be honest, this tends to be more of a problem in the weight room then it does with calisthenics. Because guys who regularly practice calisthenics tend to focus more of their efforts around these movements anyway.
Contrary to that, go and talk to one of the big boys hitting the weights at the local gym, and I can almost guarantee the first words out of his mouth will be…
…”How much you bench bro.”
Form, Alignment, And Muscle Engagement
Now, form and muscle engagement aren’t the most important thing you need to focus on…
…They’re the only thing.
And I probably don’t need to tell you that, hammering out endless reps of any exercise with bad technique gets pretty sh*tty results.
But despite this, there’s still a small minority of people who would rather do more reps with bad form, then take a step back and work on engaging the correct muscles when they workout.
Pullup Form And Muscle Engagement
Now, when it comes to pullups, there are 3 main points of focus you should be concerned with.
They are…
- Range of motion
- Core Engagement
- And Technique
Here’s how it’s done…
So, to execute a pullup (or chinup) with damn near perfect form, you must start every single rep from a deadhang position with your scapula (shoulder blades) fully protracted.
What I mean by this is that your shoulder blades should be pulled upwards and slightly forward with your arms fully locked out.
As you pull, you’ll want to retract your scapula before any other movement takes place, this will allow you to engage the right muscles before continuing to pull yourself up and above the bar.
The picture below should give you an idea of what I mean…

Notice how the shoulders are pulled back (fully retracted) in the second image. This is what you should be aiming for with the initial pull.
Not only will this work the right muscles. You’ll also find it a lot easier to control the rep because you’re not relying heavily on your arms to keep you steady.
Now, another thing you should take note of is how engaged your core is during the rep.
You see, most people tend to just kick their feet behind them when they do pullups. But this pretty much takes away any core engagement throughout the movement.
Instead, you need to adopt a hollow body position from the get-go and continue to hold it throughout the entire repetition.
When you do, you’ll notice how much more it activates your lats during the pullup and the extra stress at places on your abs.
If you’re really feeling up to it, you could even take it one step further by holding a full-blown L-sit while doing your pullups to really take things to the next level.
Kinda like this… (see image)

Obviously, don’t do this if you’re not ready. But if it’s only a little bit beyond your capabilities, make sure you take things slow until you’ve got the required amount of strength to do it right.
Technique & Alignment For The Inverted Row
Your technique for the inverted row should be pretty similar to the pullup.
Again, make sure you start with your scapula protracted and your arms fully locked out.
Now, what you need to pay particular attention to here is your body alignment.
Basically, your back should be completely straight (no sagging at the hips) with your core fully engaged.
Then, as you pull yourself further towards the bar, your scapula should slowly change from fully protracted, to fully retracted as you reach that top of the repetition.
When your chest nears the bar, really squeeze your shoulder blades together while keeping your core engaged for maximum effect.
Quick tip…
A common mistake I see when people perform this exercise is that they tend to pull their faces towards the bar rather than their chest.
Now, there’s nothing wrong with this exercise. In fact, it’s actually called a “Face Pull,” and it’s great for targeting the rear delts (back of the shoulders).
The thing is, though, it’s not really optimal for targeting your back. So what you need to do instead is pull your chest towards the bar in a slow and controlled manner. As this engages the rhomboids and traps more effectively.
But to be honest, they’re both great exercises. So ideally, you should make time for both.
Creating An Effective Calisthenics Back Workout
Now, since we’ve never met, I literally have no idea what your physical capabilities are like when it comes to these two exercises.
So to make sure I’m leaving no stone unturned. I’m just gonna start with the good old basics by taking you from the easiest progression I know…
…Right through to the more advanced exercises if you happen to have a little training experience under your belt.
Feel free to skip through whatever irrelevant here. I promise I won’t get mad.
WATCH VIDEO: Learn How To QUICKLY Master The Planche, Muscle-Up, Human Flag, And Other Advanced Calisthenic Moves That Defy The Law Of Gravity
(Video Will Open In A New Window)
Starting With Basic Progressions
So, starting with the basics, you’re always gonna want to start practicing inverted rows before moving on to the pullup.
Why?
Because it’s by far the easier exercise. And the reason it’s easier is that your feet are firmly on the ground. Which takes at least half of the demand away from your back.
The great thing about the inverted row is that you can perform this exercise no matter how limited your strength is.
Ideally, it should be performed from a horizontal position.
But if you’re haven’t quite got the strength to perform at least 5 solid reps with good form, then it’s you can just as easily do the exercise from a more upright position until you’ve got the hang of it…
Like this… (see image)

Now, I’m not going to dial down into specific reps and sets because there’s quite a lot of variables to consider depending on your goals.
But if you’re starting from ground zero from on upright position, then ideally, I’d recommend being able to perform this exercise for around 3-4 sets of 6-10 reps.
As you get stronger, all you need to do then is change the angle of the exercises from a vertical position…
…To a horizontal position.
And you can do this in as many baby steps as you like.
For the final step of this progression, you can even place your feet on an elevated platform, so your body is completely parallel to the ground.
It’s a little more complicated, but once you master it, you’ll easily be ready for the next step…
Intermittent Progressions
So once you’ve got the inverted row down. Your next focus is going to be pullups.
Now just to be clear, even while you’re practicing the pullup progressions highlighted below. The inverted row should still remain an essential part of your workout.
So make sure you practice both frequently.
Anyway…
There are a few ways you can approach the pullup if you’re unable to complete your first rep.
Firstly, you could just invest in a resistance band, wrap it around the bar, and then stand on it to assist until you’ve built the strength to perform unassisted pullups.

Or, you could practice negative pullups.
Basically, a negative pullup is when you start the exercise at the top of repetition and then slowly lower yourself.
Ideally, you’ll need a chair or platform to stand on to hold yourself above the bar. But it’s a great little introductory exercise to help engage the muscles you’ll be using when you’re strong enough to attempt regular pullups.
But if you’re struggling to decide which regression to use (resistance bands or negatives). My advice would be to just do both. This way, you’re covering all your bases.
Quick tip…
I know I mentioned this earlier, but chinups are easier to do than pullups. And a close grip is easier than a wide grip.
So with this in mind, I’d recommend practicing close grip chinups until you feel ready to start attempting more challenging variations.
Again, aim for 3-4 sets of 6-10 repetitions before moving on.
Advanced Progressions
Now, assuming your pullups and inverted rows are on point. The next step is to make each exercise harder.
There are two ways you can do this…
Firstly, you could add weight to each exercise in the form of a weighted vest, dip belt, or even a weighted backpack.
This way, you can keep challenging yourself and make further gains in strength.

The other option is to use leverage.
And by leverage, I mean distribute your weight to increase the demand on specific muscles.
Take the pullup, for instance…
Now, if you wanted to make the pullup harder, you could easily distribute your weight further to one side of your body by squeezing the bar tighter with one hand…
…And easing up your grip with the other.

When you do, you’ll notice the majority of your weight shift to one side of your body while increasing the demand for the supporting muscles.
This is how progress is made without the need to add weight.
It’s also great for massively increasing your core strength because you’re now having to stabilize the shift in weight by engaging your midsection.
And guess what?
You can apply the exact same principles to the inverted row to get the same effect.
From here, you could even combine both weighted calisthenics with the use of leverage. But this is something that can take months, even years to work up to successfully.
Taking Your Calisthenics Back Workout To The Extreme
Now, if you’re willing to think outside the box, it becomes pretty easy to throw together an effective calisthenics back workout the builds strength, size, and power.
And as long as you’re consistent, good things will start to happen as long as your form and nutrition are on point.
However, if you still feel you need a little nudge in the right direction…
…Or you simply wanna smash your goals into the stratosphere. Then I’d highly recommend checking out the Bar Brothers Program in the video below…
WATCH VIDEO: Learn How To QUICKLY Master The Planche, Muscle-Up, Human Flag, And Other Advanced Calisthenic Moves That Defy The Law Of Gravity
(Video Will Open In A New Window)
Now I won’t lie, it’s a pretty intense program with a hardcore approach. So if you the kind of guy or gal that likes to take things easy then it’s probably not for you.
But if you’re hell-bent on getting results and you’re willing to step up and put the work in. Then it might be the best purchase you make all year.
Quick Recap
So, just in case you skimmed through some stuff, here’s a quick recap of everything I’ve talked about…
#1 – An effective calisthenics back workout consists mainly of different variations of the pullup and an inverted row.
#2 – Both exercises target the back, biceps, and core. But the pullup is generally more lat focused. While the inverted row helps build a thicker back by targeting the rhomboids and mid to lower traps.
#3 – A wider grip is usually harder than a close grip and targets your back more effectively. A narrow grip places more demand on the biceps.
#4 – Perform more pull exercises than push to prevent muscle imbalances and avoid rounded shoulders.
#5 – Start each exercise with your arms straight and your elbows fully locked out. Your scapula should be fully protracted at the start of the movement and fully retracted at the top.
#6 – Make sure you perform both exercises in a slow and controlled manner while keeping your core fully engaged throughout each repetition.
Anyway…
I think I’ve about covered everything on calisthenics back workouts for now. So I’ll leave the rest in your very capable hands.
But before you go, I’m always looking for ways to improve the content on my blog. So if you have any thoughts or comments about this particular post and want to share them. Feel free to drop me a line in the comments sections below…